---
title: "Where a size chart comes from"
description: "A size chart starts with an approved sample, defines how measurements change between sizes, and is checked on bodies before the clothes are made."
url: "https://surajmalstudio.com/guides/size-charts-and-grading"
---
# Where a size chart comes from
7 min read Developing your product Updated 8 Sept 2026
A size chart starts with an approved sample, defines how measurements change between sizes, and is checked on bodies before the clothes are made.
## Quick answers from this guide
### Where does a clothing brand's size chart come from?
A clothing brand's size chart starts with the measurements of an approved sample in a chosen starting size. Written rules set how each measurement changes for smaller and larger sizes. Samples then test whether those changes preserve the intended shape and movement. The chart must also say whether its figures describe a body or the finished clothes, and explain how to measure.
### Which size should be made and checked first?
Choose the starting size with the intended wearers, the clothes and the sizes being offered in mind. A middle size is common because it allows checks in both directions. That first sample establishes the shape and fit that the other sizes should preserve. Approving it confirms the starting size; smaller and larger sizes still need their own checks.
### How are the measurements for other sizes decided?
Decide the change between neighbouring sizes separately for each measurement, using the intended shape, fabric and construction of the clothes. Widths and lengths do not all grow by the same amount. Connected parts, such as the shoulder, sleeve and opening where the sleeve joins the body, must change together so that they still sew together and allow movement.
### How should a brand test whether its sizes fit?
Check the starting sample against its agreed measurements, then test at least one smaller and one larger size on suitable bodies or forms. Include movement on bodies, because clothes can match the chart while restricting the wearer. Record each agreed change against the sample version and affected sizes, then keep the measurements and the maker's instructions in agreement.
### How much can finished clothes vary from the size chart?
The maker's measurement chart should give a target for each size and an agreed amount above or below that target. That allowance reflects variation in fabric, cutting and sewing. Set it for each measurement according to how a difference would affect the clothes. A collar or cuff may need closer control than a broad body measurement.
A size chart comes from an approved sample in one starting size, written rules for changing its measurements, and checks that the smaller and larger sizes still fit as intended. The numbers follow decisions about the clothes: their shape, the fabric and how much room they give the body to move.
That first sample is a reference. It proves the fit of one size on one body. Turning it into several sizes requires further decisions about where the clothes grow or shrink, followed by samples that test those decisions. A chart can look orderly while the clothes pull at the upper arm or become uncomfortable when someone sits down.
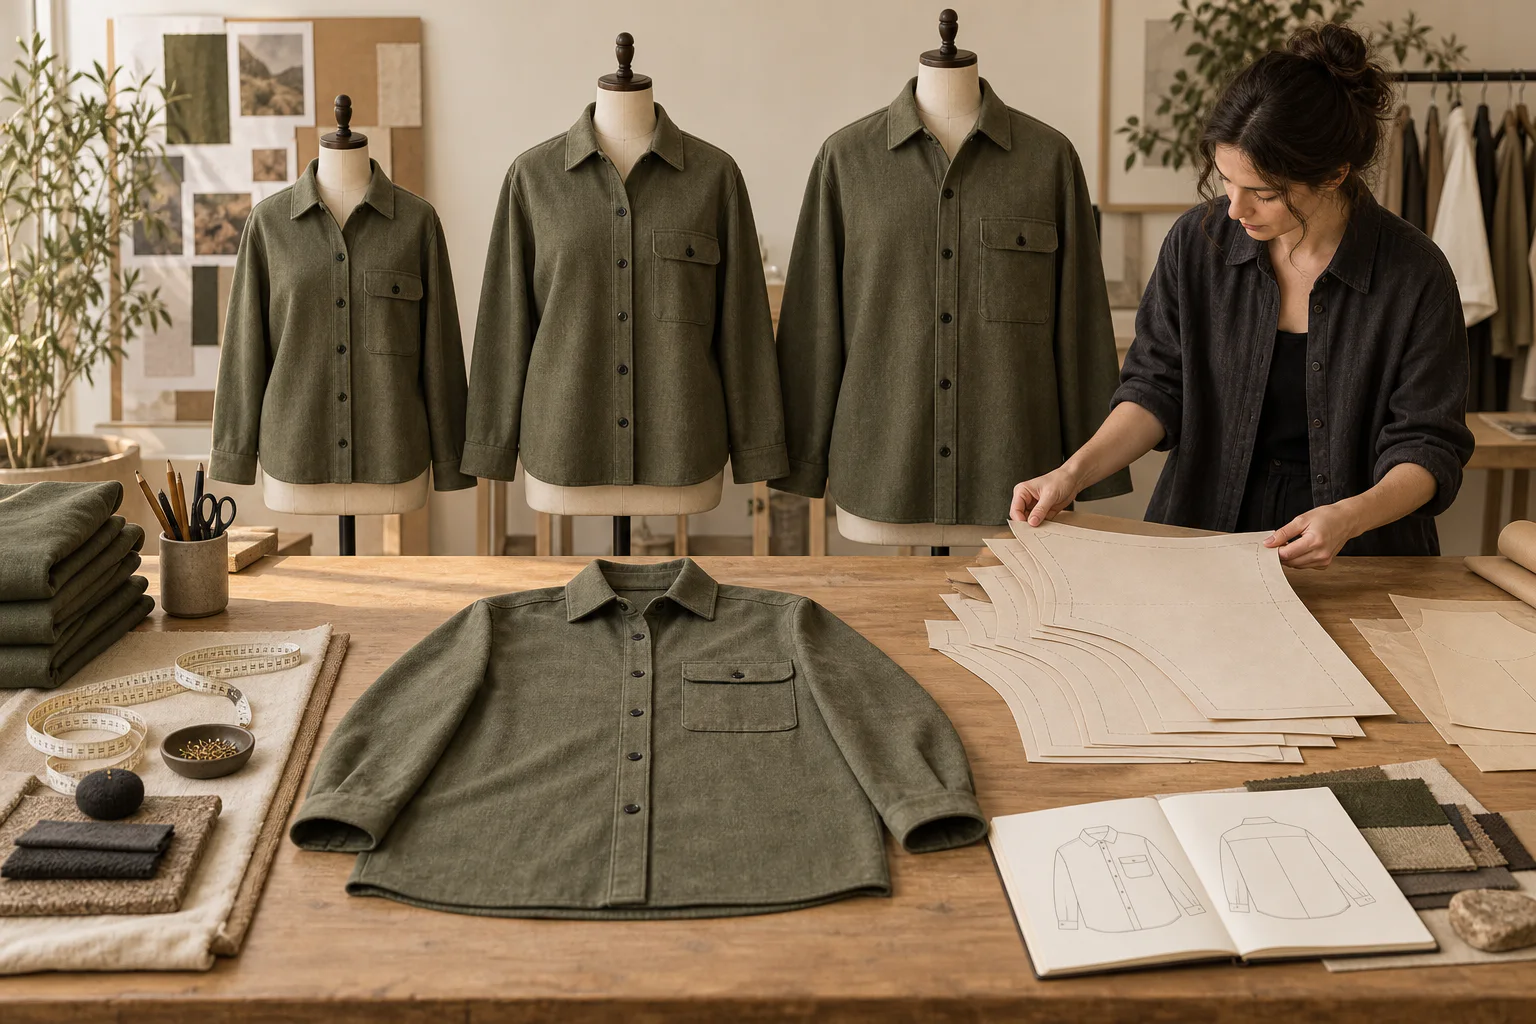
Studio illustration A size chart starts with the intended fit and an agreed base size. Grading applies planned changes between sizes; check the resulting garments rather than assuming every measurement scales equally.
## 01Choose a starting size that lets you test the sizes around it
The starting size is the size made and approved first. Its pattern, the shapes used to cut the fabric pieces, becomes the reference for the others. Choose it with the intended wearers and the sizes the brand will offer in mind. A middle size is common because it allows the maker to work towards both smaller and larger sizes, then check the results in each direction.
There is no single set of changes suited to every item. A close-fitting shirt has different demands from a loose overshirt. Trousers need decisions about the relationship between the waist, hips and the shape around the crotch. The starting sample needs to establish what the clothes should look and feel like before that shape is carried across the other sizes.
A size name does not settle any of this. Medium in one brand does not promise the same measurements as medium in another. Write down the size labels you intend to use, but give the maker measurements that define them. The label names the size; the measurements and approved samples explain what that size means for these clothes.
## 02Separate body measurements from measurements of the clothes
A body measurement and a measurement of the finished clothes describe different things. The chart needs to say which it contains. Mixing them can produce a sample that matches the written numbers yet is too small to wear as intended.
The difference between the body and the clothes provides room for movement and creates the intended shape. That room is a design decision. Make it visible in the instructions to the maker so that a loose body or a close fit is part of the agreed starting point.
This distinction also matters when preparing the size information for the website. Say whether a figure describes the body or the clothes. Keep that meaning clear wherever the chart appears. A figure headed only “chest” leaves unanswered whether someone should measure themselves or a finished shirt.
Fabric belongs in this decision. Stretch, shrinkage after washing and a soft finish can change how much room is needed and how the clothes sit. The same measurements can look different in a crisp fabric and a fluid one. Confirm the fabric intended for the finished clothes early. Changing it after approving the fit can mean returning to the pattern and the measurements.
## 03Give every measurement a repeatable method
Begin with the measurements that define the fit and shape of the item. For a shirt, these include chest width, body length and the shoulder and sleeve measurements. Add measurements for details that affect how it is made or worn, such as the cuff opening or pocket position. For trousers, the inside leg length and the shape and depth around the crotch also need attention.
Each name needs a method beside it. State the units and the exact places where the tape starts and ends. Say whether the clothes lie flat, whether fastenings are closed and whether an elasticated part is relaxed or stretched. A photograph alone leaves too much for the maker to interpret.
Chest width, for example, needs a stated measuring position below the opening where the sleeve joins the body. If the chart gives the measurement all the way around, explain that the flat width is doubled. For a waistband, say whether it is closed and unstretched. These instructions make the numbers comparable between samples.
Length needs the same care. Name the shoulder point used to measure down to the hem. For a sleeve, define the route from the shoulder seam to the cuff edge. Put these instructions beside the chart or on a drawing with the measuring lines marked. Everyone checking the clothes should be able to repeat the same measurement.
## 04Decide how each part changes between neighbouring sizes
Once the starting sample is approved, write the increase or decrease between neighbouring sizes for each measurement. This is how one size becomes several. Multiplying every measurement by the same amount does not preserve the intended fit and proportions.
The maker applies these changes to the pattern pieces. An increase around the chest may be shared between the front and back. The shoulder and sleeve need compatible changes, including the opening where they join, so that the pieces still sew together cleanly. Increasing chest width alone can leave a larger size pulling through the upper arm.
Lengths and details need separate decisions. A longer button-front shirt raises questions about button spacing and the position of the lowest button. Those details do not resolve themselves when the chest measurement changes. Decide whether they stay in place or change with the length, according to the intended appearance.
Trousers show why width alone is insufficient. Changes at the hip and thigh have to work with the depth and shape around the crotch. Otherwise the trousers can become wider and less comfortable at the same time. An elasticated waist also needs checks both relaxed and stretched, including whether the opening will pass over the body.
Ask the maker to review these relationships across the patterns for all sizes. The written changes should suit the actual fabric and the intended shape of this item.
## 05Test smaller and larger samples in movement
Begin a fitting by checking the starting sample against the agreed measurements and any earlier comments. Then review at least one smaller and one larger size on suitable bodies or forms. Give particular attention to the sizes where the changes are most likely to cause problems. A closely fitted item or a wider spread of sizes may need more samples.
Use the intended clothes underneath and footwear where they affect the way the item sits or its length. Look from the front, side and back. Check whether the neckline sits correctly and the shoulder stays in place. For a shirt, check that the buttoned front remains aligned as the wearer raises an arm.
Trousers need sitting and walking checks, with attention to the relationship between the waist, hips and crotch. A tape measure cannot settle comfort in movement. Clothes can meet every number on the chart and still need a change to the pattern.
Record what needs changing and which sizes it affects. “Improve fit” gives the maker no direction. A comment identifying restriction at the upper arm in the larger sample gives the next discussion a specific starting point. Mark the affected area on a photograph or drawing, and connect it to a named measurement where relevant.
Keep the agreed changes on one record with the sample version, date, size and fabric. State whether each change applies to the starting size, selected sizes or every size. This prevents separate messages from becoming competing instructions.
## 06Agree how far finished measurements may vary
The chart needs a target measurement for every size and an agreed amount above or below that target. Fabric handling, cutting, sewing and pressing introduce variation. The allowance defines what variation is acceptable when the finished clothes are checked.
This is separate from the planned change between sizes. One describes how a smaller size differs from the next size up. The other describes how far a finished item may differ from its own target. Keep both clear in the maker's instructions.
Set the allowance for each measuring point according to the effect of a difference. A small variation across a broad chest may have little visible effect. The same variation at a collar or cuff can affect fastening or appearance. Pocket position needs control too, with a named seam or edge as the reference for measuring it.
Before deciding that a finished item is outside the agreed allowance, check how it was measured. Pulling the tape tight across stretchy fabric or measuring a waistband open can produce a different result from the agreed method. Then check the pattern version and whether the issue is isolated or repeated before deciding what needs correcting.
## 07Approve the measurements and samples together before production
Approve the full set of measurements when the fitting comments, fabric and construction agree. A starting sample alone cannot confirm the other sizes. The maker needs a clear reference for each size before making the production order.
Keep the approved chart with its measuring instructions and permitted variation in the document that tells the maker what to make. Include the rules used to derive the other sizes, or a reference to their final patterns. Identify the sample that production is checked against, and keep a record of revisions alongside the instructions for making the clothes.
If a change follows approval, assess its effect across all sizes. A correction may belong to one size, while a change to the starting pattern may affect every size. Update the chart, patterns and sample reference together. The size chart is ready when its numbers, the clothes tested on bodies and the maker's current instructions describe the same approved result.
[Subscribe to new guides on the website.](https://surajmalstudio.com/guides/size-charts-and-grading)
Working on a range
Get help turning the next decision into a practical plan.
[Talk about your idea](https://surajmalstudio.com/enquire)
## Read next
### [What is a grade rule?](https://surajmalstudio.com/guides/what-is-a-grade-rule)
A grade rule sets the measurement change between clothing sizes; this document explains how to choose, check and record those changes before production.
### [The size chart is a brand decision](https://surajmalstudio.com/insights/2026/08/the-size-chart-is-a-brand-decision)
Behind the label number is a set of measurements somebody chose, and choosing them deliberately, publishing them and holding them constant is what earns a second order.
### [Can a design change after the order is placed?](https://surajmalstudio.com/guides/can-i-change-the-design-after-ordering)
A design can change after ordering, but the maker must check the work already committed, the approvals needed and the effect on cost and delivery.
### [Does a manufacturer need a tech pack before quoting?](https://surajmalstudio.com/guides/do-i-need-a-tech-pack)
A maker needs clear written instructions to quote meaningfully; unfinished choices can stay open if the quotation records its assumptions.
Read next [What is a grade rule? 4 min read · Developing your product](https://surajmalstudio.com/guides/what-is-a-grade-rule) [The size chart is a brand decision 14 min read · Developing your product](https://surajmalstudio.com/insights/2026/08/the-size-chart-is-a-brand-decision) [Can a design change after the order is placed? 4 min read · Developing your product](https://surajmalstudio.com/guides/can-i-change-the-design-after-ordering) [Does a manufacturer need a tech pack before quoting? 5 min read · Developing your product](https://surajmalstudio.com/guides/do-i-need-a-tech-pack)
---
[View this page on the website](https://surajmalstudio.com/guides/size-charts-and-grading)