What to check in your first clothing sample
Use the first sample to check shape, fit, fabric and making details, then give the next round a clear brief.
On this page 4 sections
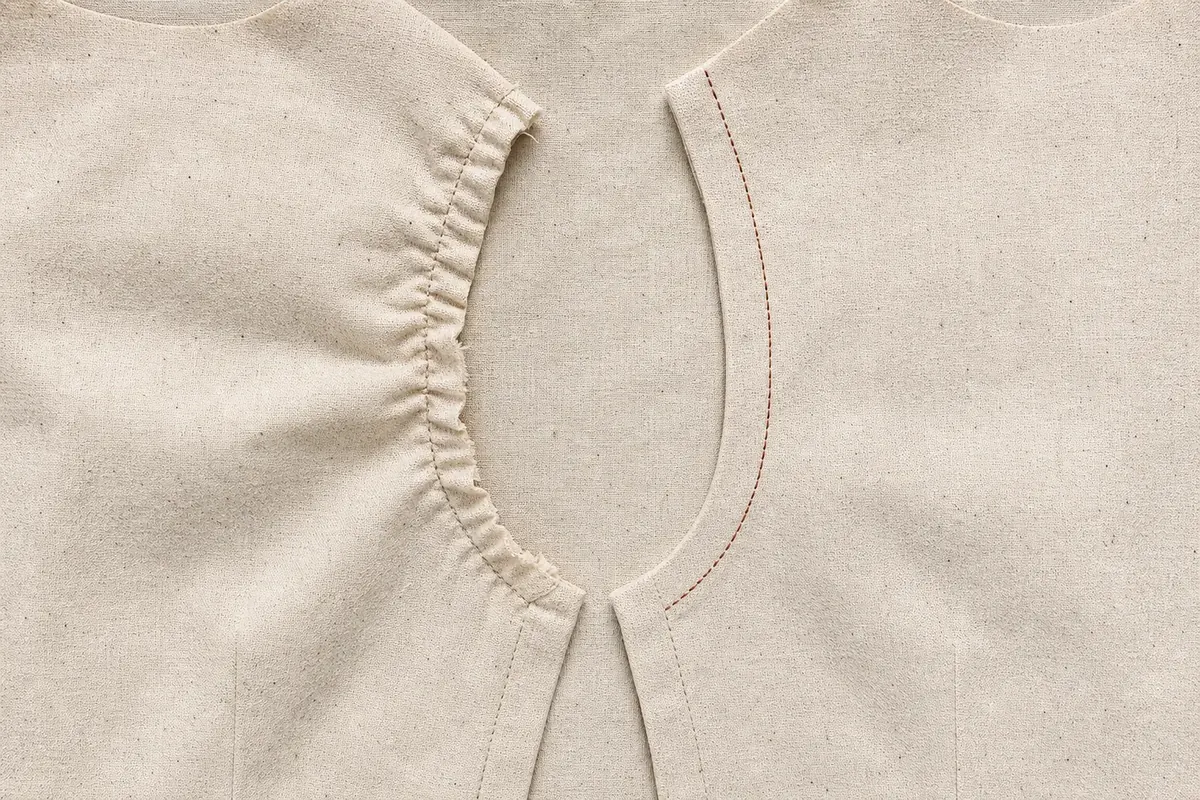
01Agree what this sample is meant to test
Your first sample makes the design tangible. You can see how the shape sits on a body, how the fabric behaves and whether the details work together. Changes at this stage are part of developing the product.
An early sample is often called a prototype or “proto”. Ask which parts use the intended materials and which are temporary. A substitute fabric, button or colour may be useful for one check and unsuitable for another. Agree what can be approved from this particular sample.
02Start with the shape, fit and movement
Try the garment on an appropriate fit model: a person whose measurements represent the size being developed. View it from the front, back and sides. Check it while sitting, walking and reaching, using the layers it is intended to be worn with.
Place the drawing and measurement instructions beside the sample. Record where it differs from the intended result. “The front lifts when the arms move” gives the designer more to work with than “the fit looks wrong”. The team can then investigate whether the shape, construction or fabric needs changing.
03Check the fabric and making details
Look at how the fabric falls, feels and moves. Two fabrics of the same weight can feel different or hold a different shape. If this is a substitute fabric, note which judgments need to be repeated in the intended cloth.
Check seams, pockets, fastenings and edges against the design. Can a hand enter the pocket comfortably? Does the fastening pull the front out of shape? Separate what you can observe from a proposed solution.
Colour, care and performance need their own appropriate checks. Appearance alone does not establish how a garment will behave after washing or repeated wear. Ask the team which tests and approvals are needed for this product.
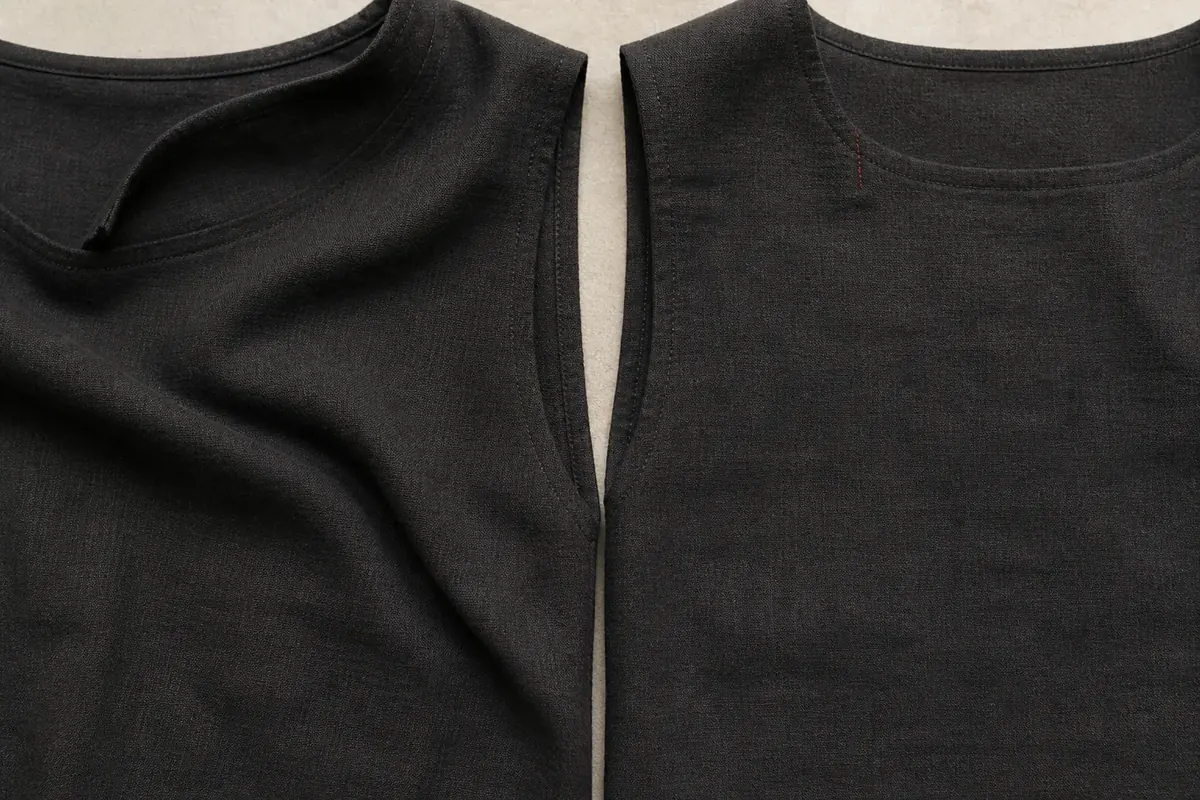
04Give the next sample a clear brief
- Identify the sample and the version of its instructions.
- Record each observation with a photograph or measurement where useful.
- Separate approved details, requested changes and questions still open.
- Agree which changes will be checked in the next sample and who will review them.
Check the revised sample against that record. Once the starting size works, the other sizes and the production materials still need the agreed checks. Our sampling guide explains how the stages fit together.
A useful first sample helps you decide what to keep, what to change and what to check next.